I am very happy to have Internet service again after days without it. I bet there is nothing everyone loves more than paying for a service that is not actually being received. Am I the only one that cannot work the new automated customer service 'representative'. I feel like I speak clearly but I still get... "I'm sorry. I cannot understand you. Please try again." Sigh....
But on a positive note, it's finally Friday! I was starting to wonder if it was never going to come. It's been beyond crazy at work this week so this momma is taking the night off from cooking and ordering a pizza for dinner. Today is also my sister's golden birthday. So Happy birthday Britt! :)
In honor of her birthday celebration this weekend, I'm sharing my very favorite frosting recipe today. Let me tell you, I have done my fair share of experimenting over the last 5 years to find the best frosting recipe. My aunt is a pretty amazing baker and her frosting is always delicious. The depressing part for me is that she doesn't have a recipe. She always dumps some powdered sugar, some vanilla, and some water (or milk?) in a bowl and adds things until it "looks right". It's like magic. I've tried and failed with that method many times and finally concluded that I am one of those who just needs a recipe.
So the quest began for the perfect frosting. I've tried a ton of recipes but always found that they were too buttery or too sweet or even the wrong consistency. Until this one. I use this recipe for sugar cookies, cakes, and cupcakes and it never has lead me astray. I've also added cocoa powder to it (to make chocolate frosting), peanut butter, mini chocolate chips, etc. and it works every time.
Wilton Buttercream Frosting Recipe
* 1/2 cup butter (I usually use light and still think the recipe is amazing)
* 1/2 cup shortening
* 4 cups of powdered sugar
* 1 tsp. vanilla
* 2 tablespoons of milk
Cream together butter and shortening. Mix in vanilla. Add powdered sugar, one cup at a time, mixing well between each addition. Add milk slowly to desired consistency.
I usually use only about 1-2 tsp of milk when I use a frosting bag with a tip to decorate cakes or cupcakes but use more to achieve a thinner consistency to spread the frosting layer. If I'm going to color it, I use decorating gel because it doesn't affect the consistency. If you use regular food coloring drops, you will probably want to add less milk so it doesn't get too runny.
Enjoy!

Friday, October 25, 2013
Tuesday, October 22, 2013
Buffalo Chicken Flatbread Pizzas
It's always a belief of mine (and luckily my husband too)
that everything is better with buffalo sauce.
Okay, everything within reason. I
draw the line at ice cream.

* 1 pound cooked shredded chicken
* 1/2 cup buffalo sauce ( I love Frank's red hot, use more or less for your taste)
* 3 Laughing cow spreadable wedges, blue cheese flavor
* 1-2 carrots and 1-2 celery stalks, diced
* 1 package of mozzarella or pizza cheese

I saw these flatbreads that I hadn't seen before at the
grocery store last weekend and knew they would be perfect for buffalo
chicken. They did not disappoint.
I cooked my chicken in the crock pot with
salt, pepper, and a little water during the day and they were very quick to
assemble once Josh got home from work.
Normally, I would have cooked the chicken with buffalo sauce in the
crock pot but I was worried it would be a little too spicy for the boys and
added it to half of the chicken after it had been shredded.
The carrot and celery
added a nice crunch and the laughing cow gave a great blue cheese flavor
without being too overwhelming or adding a lot of fat.
Buffalo Chicken Flatbread Pizzas
* 1 package flatbread (we had enough chicken for our package of 6)* 1 pound cooked shredded chicken
* 1/2 cup buffalo sauce ( I love Frank's red hot, use more or less for your taste)
* 3 Laughing cow spreadable wedges, blue cheese flavor
* 1-2 carrots and 1-2 celery stalks, diced
* 1 package of mozzarella or pizza cheese
2) Spread 1/2
laughing cow blue cheese wedge on each flatbread.
3) Mix shredded chicken with buffalo sauce and spread on
pizzas.
4) Layer diced carrots and celery and top with cheese.
5) Bake for an additional 5 minutes or until cheese is
melted.
The rave reviews from my boys will definitely have me making these again.
Monday, October 21, 2013
New house update: Playroom
When we moved in three months ago, the downstairs extra bedroom bothered me the most. I'm sure if you look at the pictures, you can easily see why. The teddy bear border was totally creepy and the dark paint pattern made the room look like a cave. I absolutely hated it and in fact, we considered not buying the house because the room gave me the icks. (Hey... it's real thing.)

The walls had this dark purple rag painting on the walls and that border absolutely had to go. The whole house, including this room, has the oak trim and doors which isn't really my taste. (It's in the rest of the house too... we'll get there.)

The whole house also has popcorn ceilings which doesn't help the cave-like feeling. We are taking them down as we update every room in the house and is actually easier than you would think, just a tad messy. A post on that is coming.
 |
| Who wouldn't want to stare at this everyday? |
Because of my intense hatred for this room and because we had never taken down popcorn ceilings or painted trim before, we chose this room to do first. We figured if we screwed up terribly learning these things or hated the way it looked, we wouldn't use this room much and no real harm would be done.
However, now that the popcorn ceiling is down and everything including the trim and doors has a fresh coat of paint, I love this room. Like love it. We decided to turn this room into a playroom for the endless amounts of toys we have and use the closet for storage.


Isn't it amazing what paint can do? It completely brightens up the space and makes it look larger. Taking down the popcorn ceilings got rid of the shadow in the room and really made the room feel more open.
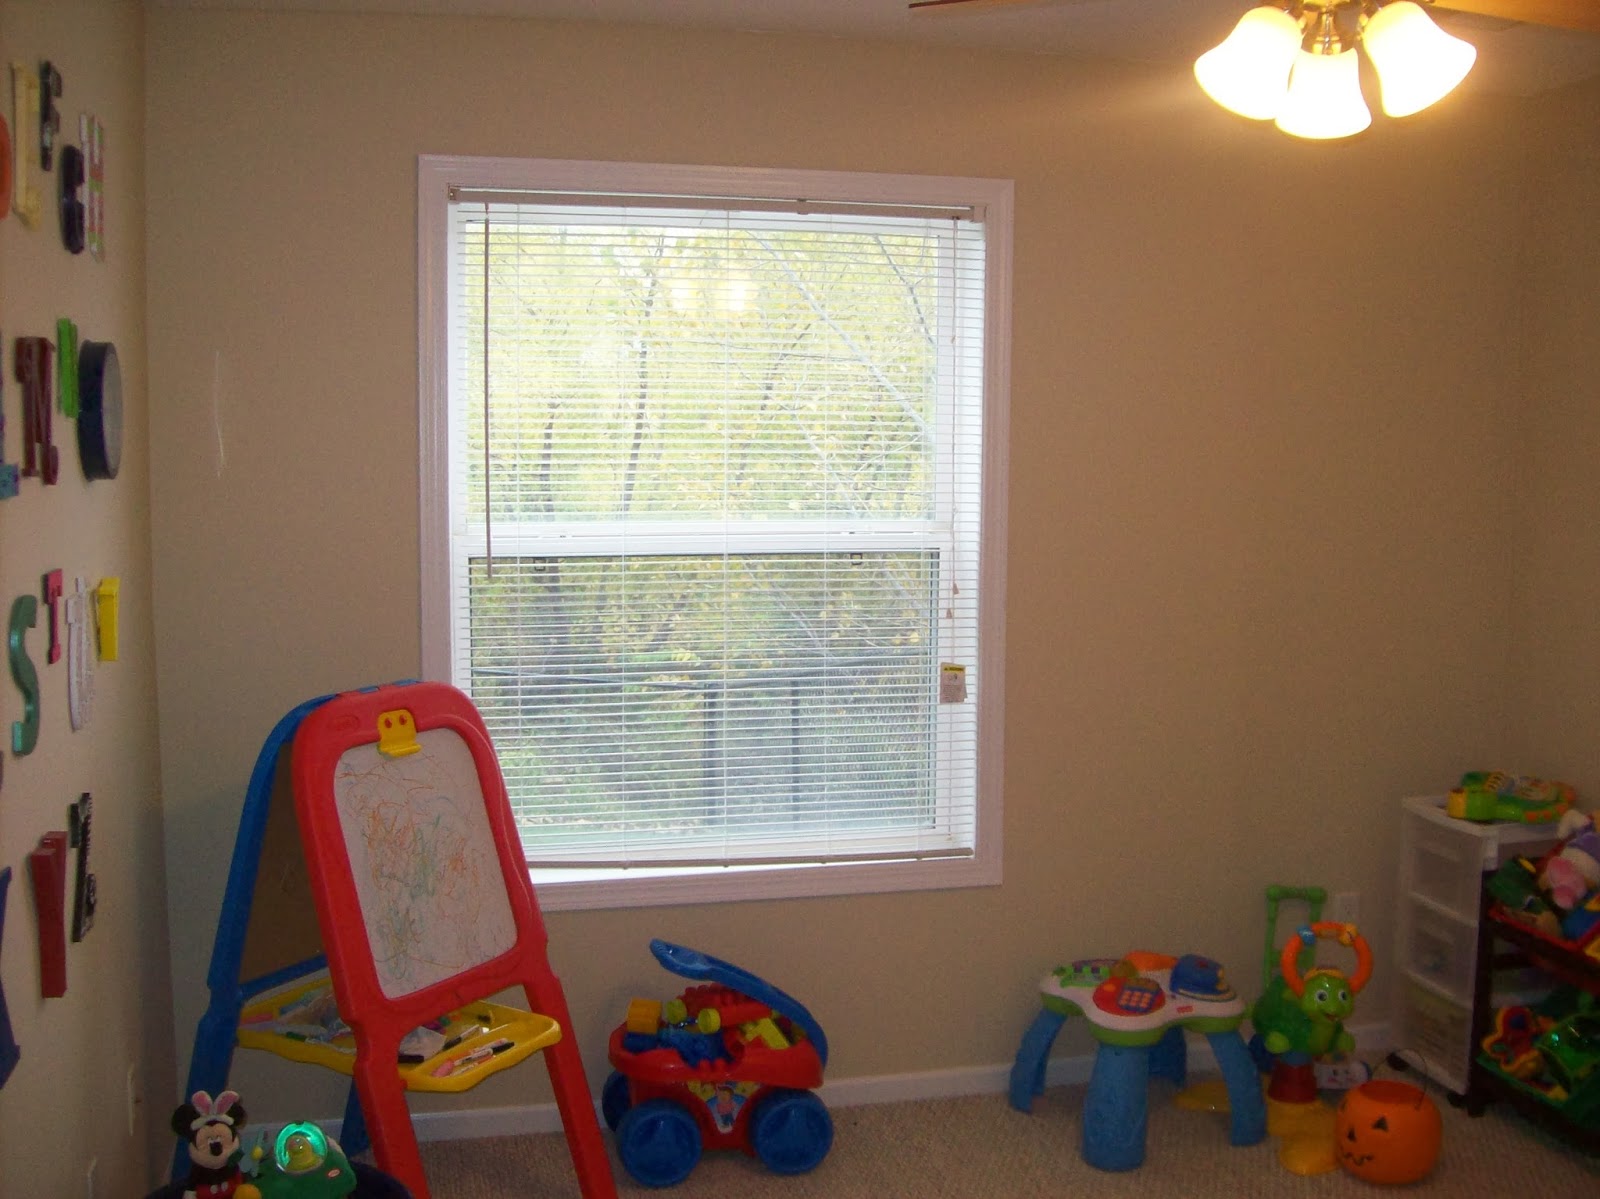
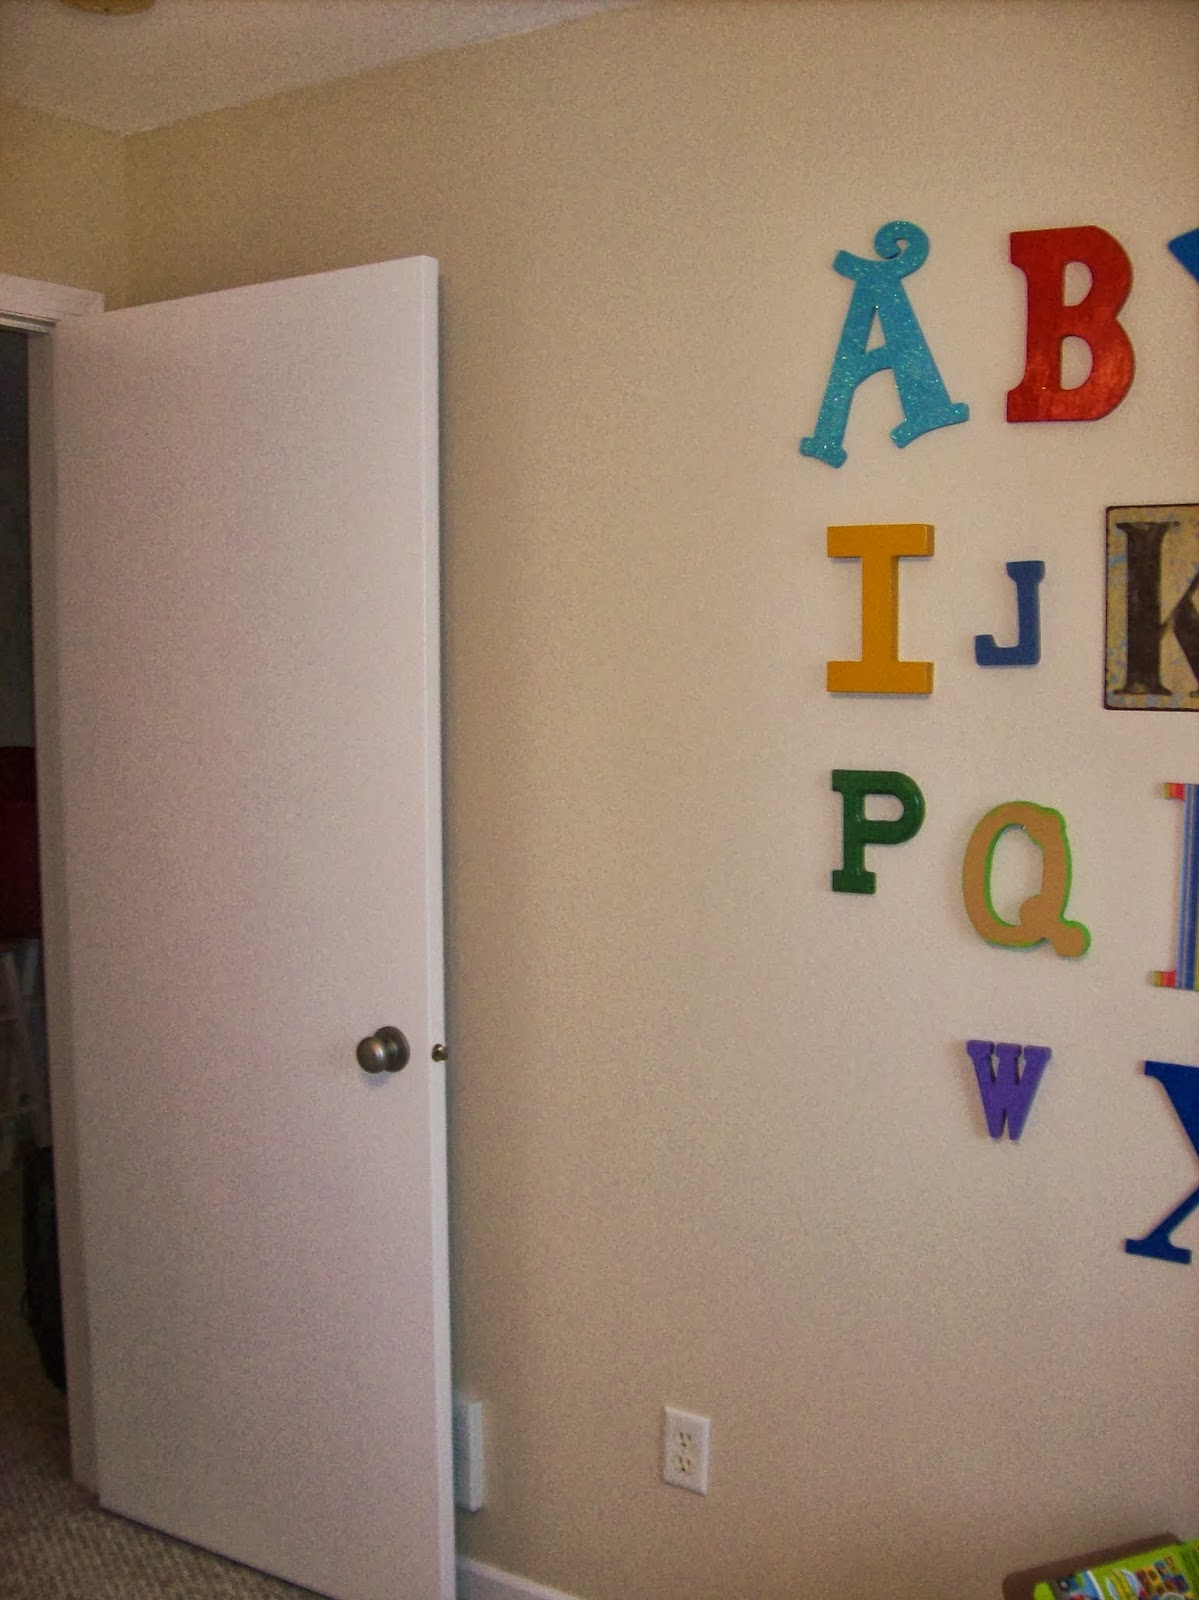
Seriously, the expression on Caleb's face when he saw this new room full of their toys was pretty priceless and worth all the work. I want to find (or create!) some more colorful artwork for the walls but other than that, we are pretty darn happy with how this room turned out.
Now we just have to do every single other room in the house. I should mention though that luckily this room is the only one with really objectionable paint choices, thank goodness. The rest of the house is an off-white with that oak trim and doors. Pretty boring (!!!) but at least tolerable as we work our way through the house.
Next up is the main floor powder room... stay tuned.
Monday, October 14, 2013
DIY Easy Halloween Wreath
Since having children, I've become a big holidays decorator. Can't say I was much of one before the boys but it makes me happy to see their excitement when the house is festive for the time of year. In fact, (as a little side note) my mother is great at decorating for the holidays and always has at the very least a festive hand towel in every bathroom and the kitchen for the smaller holidays. For an entire year before I was married, she went out and bought a few hand towels for every single season and holiday and gave them to me for one of my wedding showers. I absolutely love them.
Anyway, every year since Josh and I have been together we have worked on increasing our holiday decoration stash, buying at least a few pieces every year. Some of my favorites this year are these adorable pumpkins that I bought from Hobby Lobby. I think they are so cute and I would buy an entire pumpkin patch of these things if I could afford to.

I also love this basket my mom wove for my sister and I this year. So cute with the little ghosts and the orange colored reed is so festive for this time of year.

This cute sign post that we have in a planter on our front porch from you guessed it... Hobby Lobby. I swear, I could spend all day (and our entire savings account) in that store given the chance.

Finally, I adore this Halloween wreath that I made this week. Super easy and fast and looks adorable out on the front door.

I bought a Styrofoam wreath from Hobby Lobby for $4.99 and wrapped it with black yarn. I put a line of glue in sections on one side of the wreath, wound the yarn over it, and worked my way around the entire wreath. I used hot glue because I wanted it to dry/harden quickly and not stick to me or anything else.
Once it was wrapped, I glued a loop of the same yarn to the back for hanging and then started gluing my cute decorations. A couple weeks ago I found a garland of glitter covered orange pumpkins, black bats, and purple spider webs at Target in their dollar section and grabbed them thinking I would do something Halloween related with them. I took the garland apart and glued them on along with a couple white wooden ghosts that I found at Hobby Lobby for $1.50. Finally, I painted a couple .97 letters (also found at Hobby Lobby) orange to spell out BOO.

I love the way it turned out and love seeing it when I drive by. Super easy and the entire thing cost less than $20. Way cheaper than buying one and this one looks exactly like I wanted it to.
Anyway, every year since Josh and I have been together we have worked on increasing our holiday decoration stash, buying at least a few pieces every year. Some of my favorites this year are these adorable pumpkins that I bought from Hobby Lobby. I think they are so cute and I would buy an entire pumpkin patch of these things if I could afford to.
I also love this basket my mom wove for my sister and I this year. So cute with the little ghosts and the orange colored reed is so festive for this time of year.
This cute sign post that we have in a planter on our front porch from you guessed it... Hobby Lobby. I swear, I could spend all day (and our entire savings account) in that store given the chance.
Finally, I adore this Halloween wreath that I made this week. Super easy and fast and looks adorable out on the front door.
I bought a Styrofoam wreath from Hobby Lobby for $4.99 and wrapped it with black yarn. I put a line of glue in sections on one side of the wreath, wound the yarn over it, and worked my way around the entire wreath. I used hot glue because I wanted it to dry/harden quickly and not stick to me or anything else.
Once it was wrapped, I glued a loop of the same yarn to the back for hanging and then started gluing my cute decorations. A couple weeks ago I found a garland of glitter covered orange pumpkins, black bats, and purple spider webs at Target in their dollar section and grabbed them thinking I would do something Halloween related with them. I took the garland apart and glued them on along with a couple white wooden ghosts that I found at Hobby Lobby for $1.50. Finally, I painted a couple .97 letters (also found at Hobby Lobby) orange to spell out BOO.
I love the way it turned out and love seeing it when I drive by. Super easy and the entire thing cost less than $20. Way cheaper than buying one and this one looks exactly like I wanted it to.
Tuesday, October 8, 2013
Random stuff on a Tuesday
* My baby sister got engaged a few weeks ago which is so exciting. They are getting married in October of next year and this weekend we went to our first bridal fair in the area. I love everything about weddings and by default I love bridal fairs. We tasted a ton of cakes and appetizers and checked out local vendors. I was surprised that apparently fall weddings are getting more and more popular so vendors are booking up for next year already.
I love wedding planning and so wish I could do it again. To Josh of course ( I’m not looking for another husband), just another wedding day. My wedding was already a DIY spectacular (IMO of course) but if Pinterest had been around then…. WOW. I probably would have been uncontrollable.
* This past week we also finished Parent-Tot swimming lessons at our local rec center. The classes are for kiddos 6 months – 3 years with an accompanying adult. I took them 4 times I think with Caleb before Eli was born and we took this opportunity to do them together before Caleb is too old and will move on to the next level by himself. Both boys had a good time and Caleb is quite the swimmer! He’s kicking his feet and paddling his arms like a big kid. The teacher said he was ready for the 3 year old class, Tadpoles, in the spring.


I took swim lessons all through elementary school and then swam on the swim team in high school. For me, swimming in high school was one of the best experiences of my life. It taught me so many things: what it meant to be a part of a team, dedication, pushing yourself beyond what you actually think you can do, and made me some life long friends. My kids may not want to swim in high school and that’s fine. However, I want them to take lessons until they at least know how to swim effectively. To me, that’s an important life skill and really a matter of safety. After that, it’s up to them.
  |
| This was my attempt at getting them to take a picture with their certificates. Clearly, that did not happen. As Caleb would say, silly mommy. |
* We’re heading to visit Josh’s family this weekend which we are all looking forward to. His twin brother, sister-in-law and our nephew are flying in for a short visit. As I have mentioned before, we don’t get to see them very often so it’s a special time when we do. I can’t wait to spend time with our nephew who is Eli’s age. I’m so curious to see how they will interact with each other!
Subscribe to:
Posts (Atom)